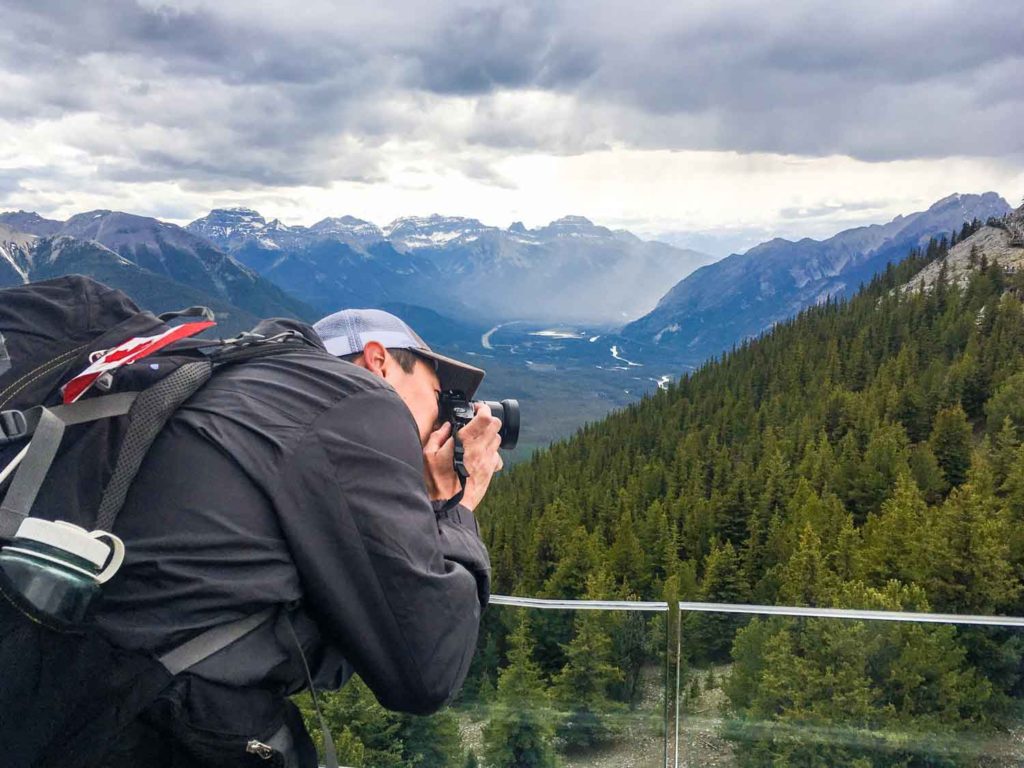
We’ve all been there. With a sweet vacation coming up, you wanted to be able to capture some amazing travel photos. So you bought a fancy camera and thought you’d immediately start taking incredible pictures. You’re not sure what all the fancy knobs and dials do, so you just leave it on Auto mode. But your photos aren’t turning out quite as good as you expected. Was it even worth buying a “real” camera when you could’ve just used your phone? You’re left wondering how to take better travel photos.
Believe me, I’ve been in your shoes. I went through the exact same thought process above when I first got my Nikon D40 as a freshman in college. I knew that I had a lot to learn about photography and cameras. But I wasn’t sure where to start. I wanted to get off the Auto setting and use manual mode because that seemed more legit. But I had no clue how it worked. Eventually, I learned the exposure triangle and finally had a foundation to start taking better photos.
I have to give a disclaimer though. Mastering the exposure triangle won’t automatically make your pictures incredible. There are other things that come into play such as composition and post-processing. But figuring out how to properly set your exposure will give you a head start to take more amazing photos.
EXPOSURE
So to begin, what is exposure in photography? To put it simply, it’s the amount of light that reaches your camera sensor. Obviously, you need light to take picture. And how you control your exposure will play a big part in how your photos turn out. An overexposed photo had too much light reach the camera sensor. Therefore, the highlights will be washed out and details will be lost in those bright areas. On the other hand, an underexposed photo did not have enough light reach the sensor. So the details in the shadows will be lost and the dark areas will be almost all black.
So how do you properly expose a photo? There are 3 elements that you can control, and these make up the exposure triangle: aperture, shutter speed and ISO. Learning how these three settings work together will allow you to set the correct exposure for your photography.
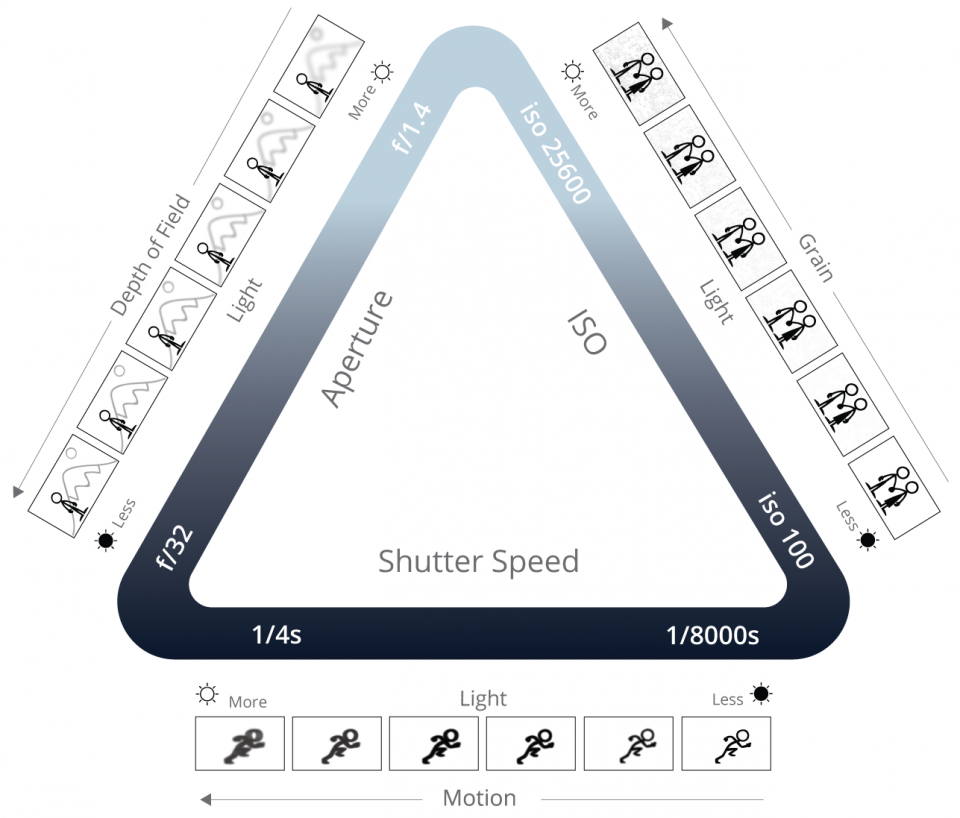
Here is a helpful illustration of the exposure triangle, courtesy of B&H Photo Video. (Click the link to view the original source.)
APERTURE
Let’s start with aperture. This is how big or small the opening is in your lens to let light in. F-stops are the unit of measurement to express the size of the opening. However, with aperture, you have to remember that the numbers are opposite of the size. In other words, the lower the f-stop number, the larger the opening. If you set your aperture at f/2.8, this will allow in significantly more light due to a larger opening than f/16.
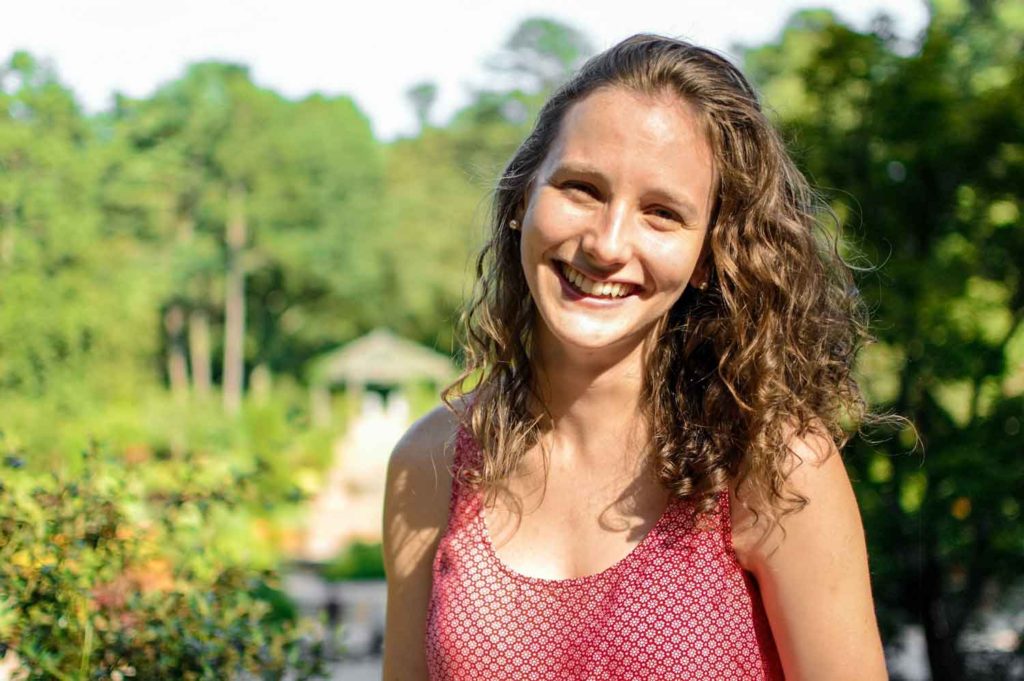
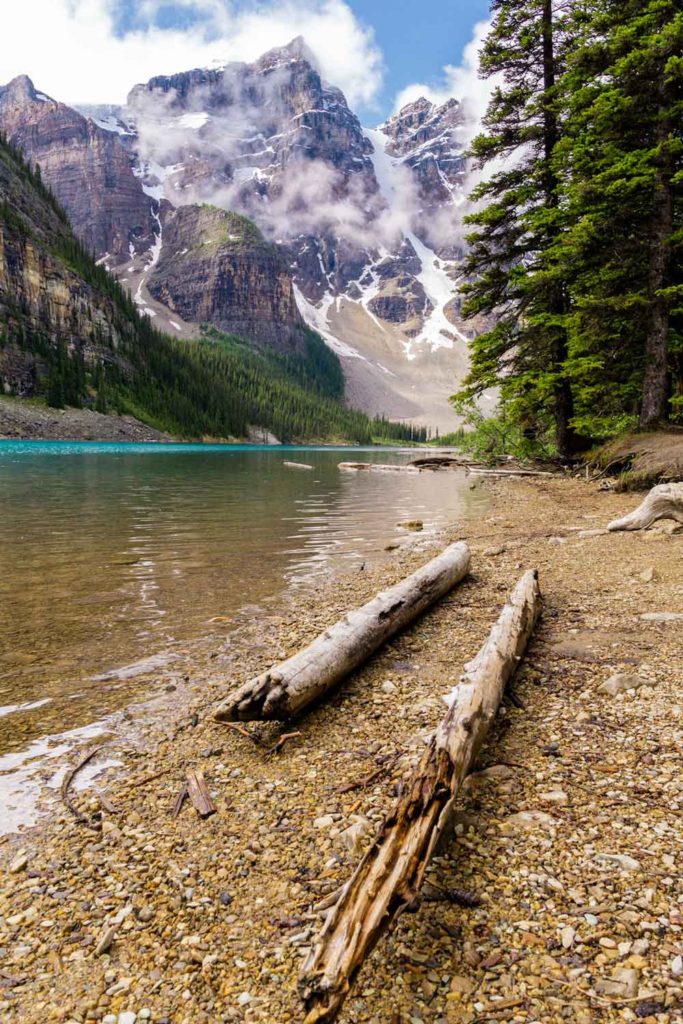
Where aperture comes in handy is when you want to set a desired depth of field effect. A shallow depth of field means your subject in front is in focus while the background is blurred. Many portraits have a shallow depth of field to bring attention to the subject. The blur is called bokeh, and the lower the f-stop (larger opening and more light), the more blur. At other times, you may want everything in focus, from everything right in front of you to the horizon. This is when you’ll use a higher f-stop number, which lets in less light and gives you a deep depth of field. This is seen a lot in landscape photography when you want everything in the scene to be in focus. So start setting your exposure with aperture if you are wanting a particular depth of field for your photo.
SHUTTER SPEED
Next, we’ll talk about shutter speed. This is how long the shutter is open. As you may expect, the longer the shutter is open, the more light that will reach the camera sensor, and vice versa. Shutter speed is expressed in seconds. So a shutter speed of 1/2500 is significantly faster and lets in much less light than a speed of 5.
This comes in handy when you need to either freeze action. When photographing things like sports, wildlife or anything else that you want capture a quick moment in time, a faster shutter speed will allow you to do that. This could be a basketball player mid-air going for a dunk, a bird in flight or a splash of water.
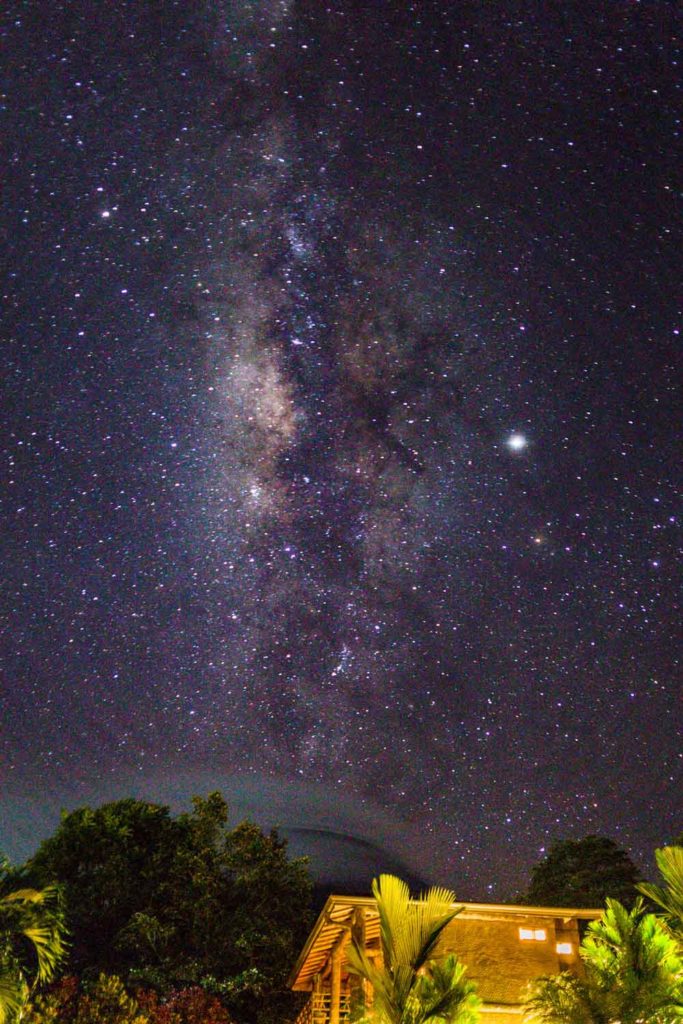
But when would you need a slow shutter speed? Sometimes you want to capture motion for artistic effect. Even seen a photo of a waterfall where the water looks smooth and blurred? Or a picture with light trails, whether its from cars on city streets or stars in the sky? That’s all done by slowing down the shutter speed to get the effect you desire. To avoid extra blur and hand shake when taking long exposures, be sure to use a tripod and remote if necessary. So when the priority is to capture motion or a moment in time, set your exposure starting with the shutter speed.

ISO
The last part of the exposure triangle is ISO. This is how sensitive your camera sensor is to light. Generally, you’ll want to shoot at the lowest ISO possible for a better quality photo. Higher ISO values mean the sensor will be more sensitive and let you take brighter photos in darker settings. But it could make your pictures look more grainy with digital “noise”. Of course, shooting at a higher ISO is inevitable in low-light situations or at night. Most cameras have an auto ISO setting, which may be helpful as you learn how to manipulate the aperture and shutter speed.
PRIORITY MODES
So this is a lot of information and we know it can be overwhelming. This leads to the next question: How can you put all this to practice? Luckily, your camera likely has modes that will allow you to focus on one aspect of the exposure triangle. This lets you see how your adjustments affect your final shot.
Aperture Priority: This mode allows you to set the aperture manually. But the camera will set the shutter speed and ISO automatically for what it thinks is a properly exposed photograph. This is the setting we use the most. We typically know what depth of field we are looking for in our pics, whether it’s taking photos of people or landscapes. Play around with this setting to see how aperture can help you get the desired depth of field you want. Some lenses have a lowest f-stop value of f/4, while some may go down to f/1.8 or lower. Portrait photographers favor lenses with lower f-stop values to achieve a shallower depth of field and more bokeh.
Shutter Priority: This mode allows you to set the shutter speed manually, while aperture and ISO are set automatically. You can see how fast and slow shutter speeds affects the motion captured by your camera. Don’t have a waterfall or a race track near your house? Turn on the faucet and take pictures of the water coming out! This may sound silly, but it’s how I first played around with shutter speed.
MANUAL MODE
Now that you understand the effect aperture and shutter speed has on your photography, it’s time to try Manual Mode! This is where you will really learn how all 3 elements of the exposure triangle work with each other. And don’t worry. Now that you understand aperture, shutter speed and ISO, manual mode won’t be as intimidating as it seems! Just remember that if you adjust one aspect, you’ll need to compensate by adjusting another to keep the same exposure.
But how do you know if you’re going to get a good exposure? Use your camera’s light meter! The light meter will look like a line with numbers, for example, from -3 to 3 with 0 in the middle. If the light meter arrow is pointing to a negative number, it means the photo is underexposed. Obviously, a positive number means it is overexposed, and being in the middle at 0 means your photo will be properly exposed. We tend to shoot at 0 or a little underexposed, as we typically brighten up shadows and exposure in post-processing.
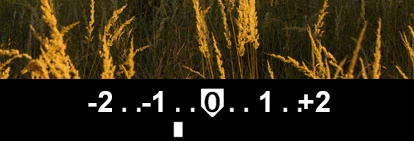
This light meter image is from Fstoppers, an excellent and informative photography website. (This is not our own image! Click the link to view the original source.)
So what if you’re taking a picture in a bright area but your light meter indicates an underexposed photo? It means you need to let more light in. This means you should open up the aperture more, choose a slower shutter speed or bump up the ISO. It all depends on your preferences regarding depth of field and motion.
Say you’re taking a picture of a flower on a nice, sunny day. You decide that you want a shallower depth of field for a blurrier background. Since you have plenty of daylight, you’re maybe already shooting at ISO 100. So when you open up the aperture to a lower f-stop number for a shallow depth of field, you’ll need to adjust the shutter speed in this situation (make it quicker to allow in less light) to compensate for the wider aperture.
Perhaps you’re shooting a sporting event and you like the shutter speed you’ve set to freeze the athletes in motion. But maybe there isn’t good lighting and you already have the aperture as wide as it will go to allow in more light. Your pictures are still darker than you’d like. So what do you do? You guessed it. You bring up the ISO level. Do you see the connection between the 3 elements?
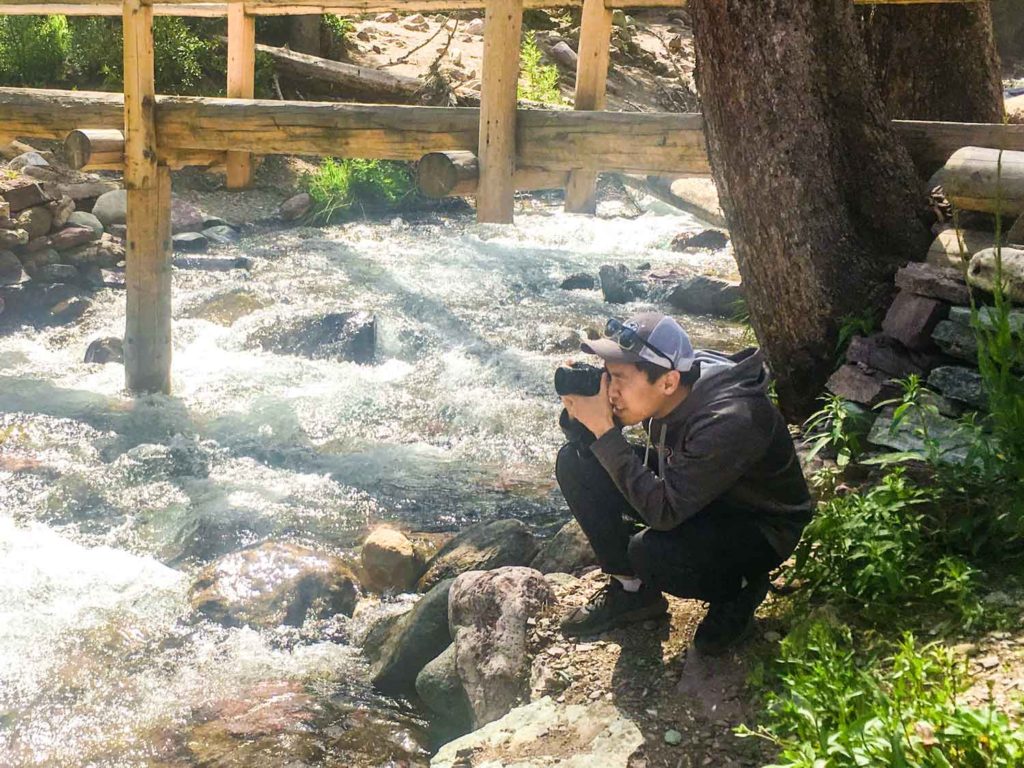
Now that you understand the exposure triangle, grab your camera and go practice! You don’t need a beautiful landscape nearby to learn your camera. I took pictures of many random objects around the house while figuring out manual mode. We also realize that manual mode isn’t always the best setting to use. Aperture or shutter priority modes can be a huge help when you need to be relatively quick in a touristy area. As stated earlier, we use aperture priority mode the majority of the time. But when you have plenty of time to experiment, let your creativity fly with manual mode!
And sure, your camera has a ton of other features we haven’t touched on in this post, from white balance to metering modes. But understanding how aperture, shutter speed and ISO work together is a great foundation on your way to mastering photography.
Check out our other travel tips and our photos on Instagram. Thanks for reading, and happy photographing!